From Flat Pack To FlightSim

Contributor Frank Jones


From Flat Pack To FlightSim - Part #1

On a sunny September morning in 2013 this arrived from Canada. It is a kit to build the Captain’s side of a 737NGX. Its footprint is that of a typical desk, and everything is the correct size.

JetMax

I opened the carton on the doorstep as I figured this was the best way to get it upstairs – bit by bit.

JetMax

First, I changed the above to this – in readiness for the new cockpit.

JetMax

In this picture white Cassandra stands ready to run the new flight deck exclusively. While yesterday’s man, Rodney, is installed to the right in my other setup to run FSX, X-Plane and others for low and slow scenic flights. He will also handle the new flight deck’s monitors, which is an operation smoothing feature of iFly’s 737 CBE edition, now used on the JetMax.

The journey upstairs from doorstep has begun.

JetMax

The throttle quadrant came fully assembled, ready to plug into a USB port. Later I found the hard part was configuration through FSUIPC.

JetMax

At first sight the cables looked daunting.

JetMax

JetMax

However the gear lever looked more straightforward.

JetMax

It’s beginning to take shape.

JetMax

And, it will fit into the space.

JetMax

The harness made the cabling easy.

JetMax

Setting out on the window ledge helped to get the bits organised. Don’t ask about the sculpture!

JetMax

The next three pictures show how the monitors are fitted.

JetMax

JetMax

JetMax

And, finally it was all worthwhile. The project was completed in March 2014.

JetMax

I am grateful to Peter & Steve Cos, proprietors of JetMax, who were a great help throughout.

Back to Menu Tabs

From Flat Pack To FlightSim - Part #2

We simmers are never satisfied; next to catch my eye was the Overhead unit – and here we go again!

Two large packs arrived on 16th October 2014 from Jetmax.

JetMax

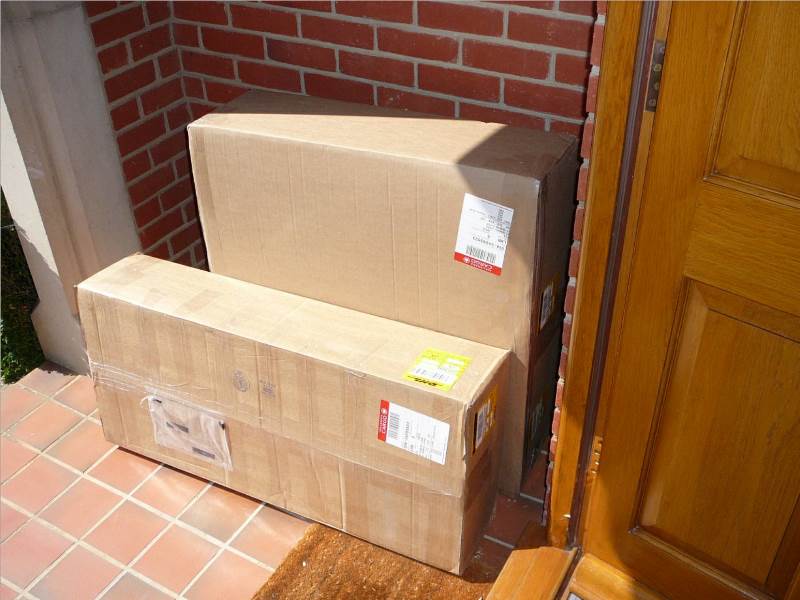
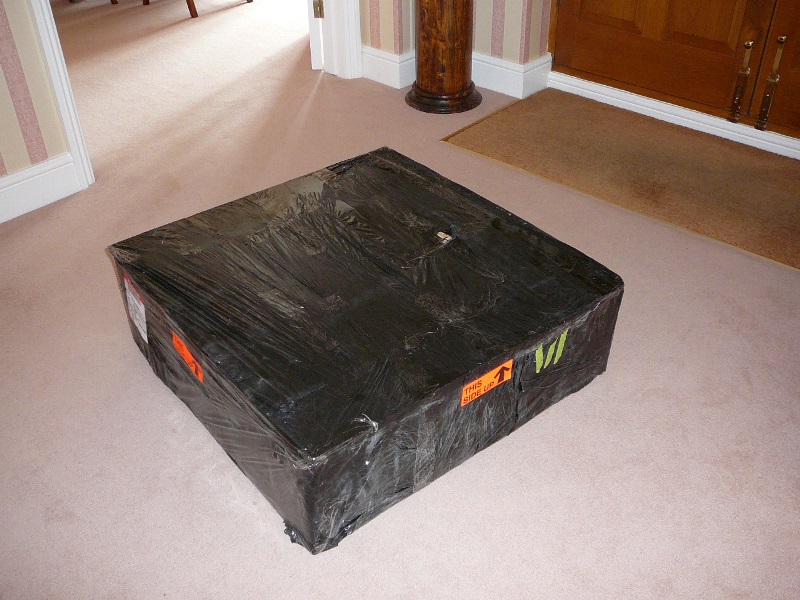
One contained the ready built OH unit - sadly damaged in transit.

JetMax

So Jetmax arranged to send another and collect the damaged unit for return – continuing their excellent service. The other contained the parts to build the support frame, which is very solid and hard to damage!

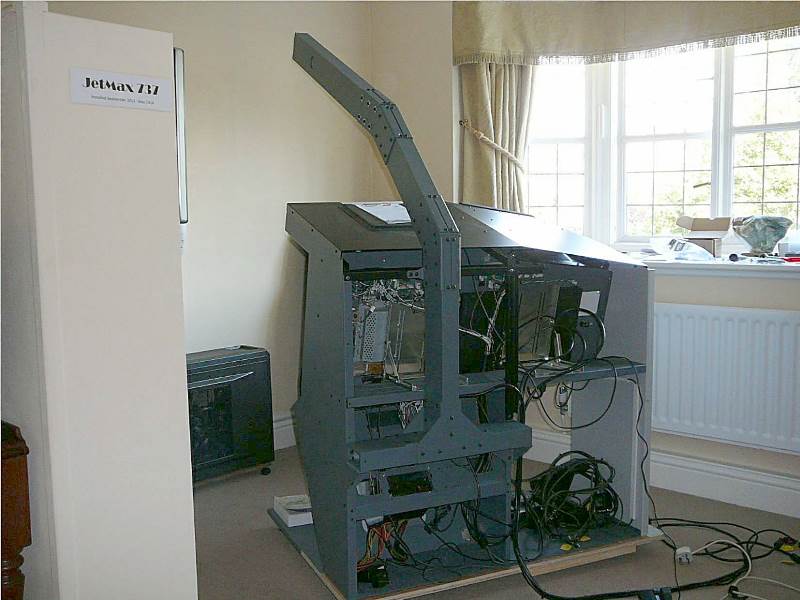
There was much to do to prepare for the replacement’s arrival. To avoid the risk of banging my head on the sharp corner which is about 5’ 9” from the floor, I decided the whole thing had to be turned through 90 degrees. The following pictures show what was involved.

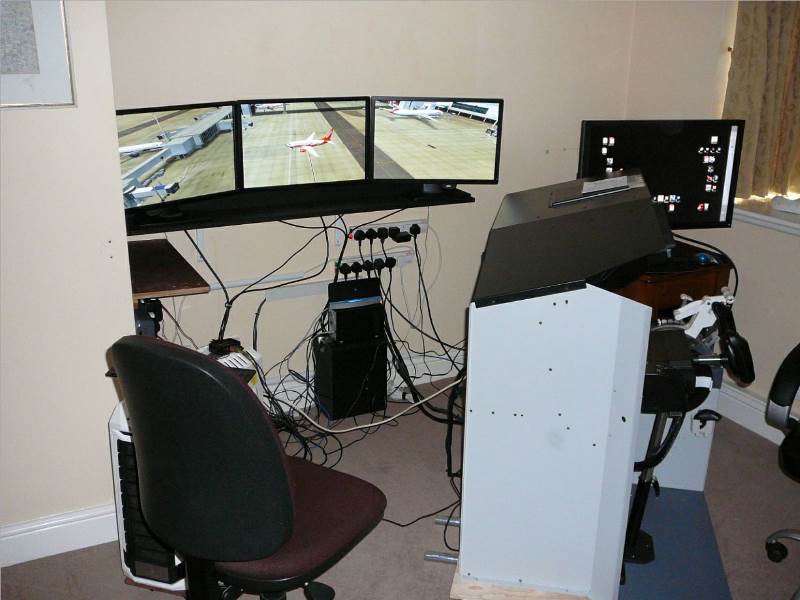
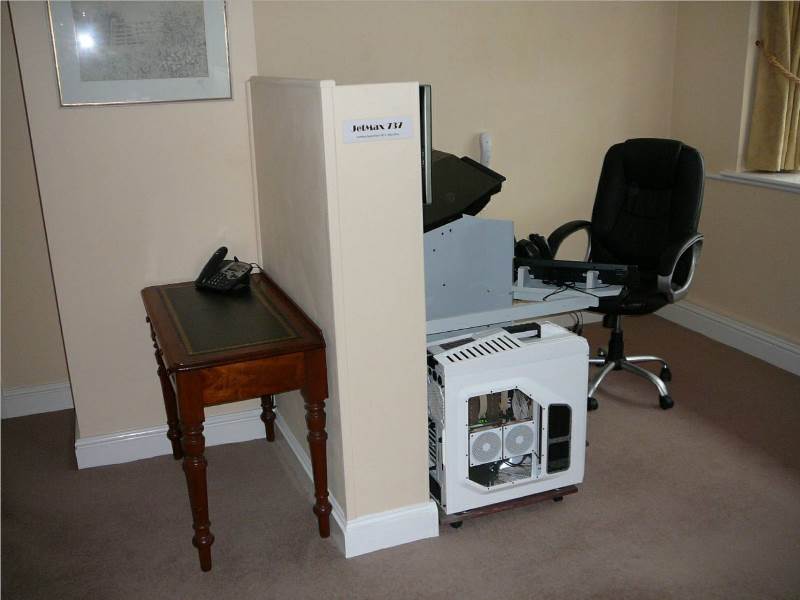
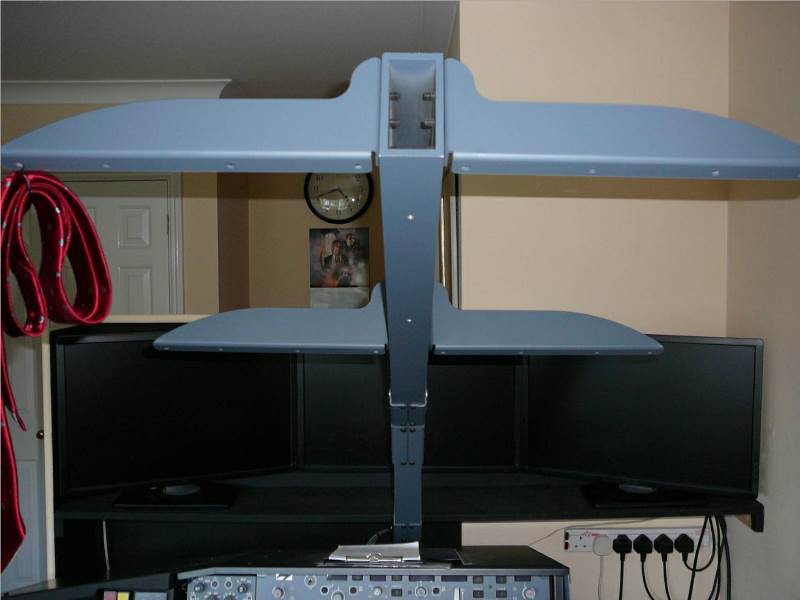
I had been happily flying my JM737 for some months, and it looked like this

JetMax
JetMax


But that had to change, and chaos, created by power drilling, woodworking and re-wiring, commenced.

JetMax

JetMax

JetMax

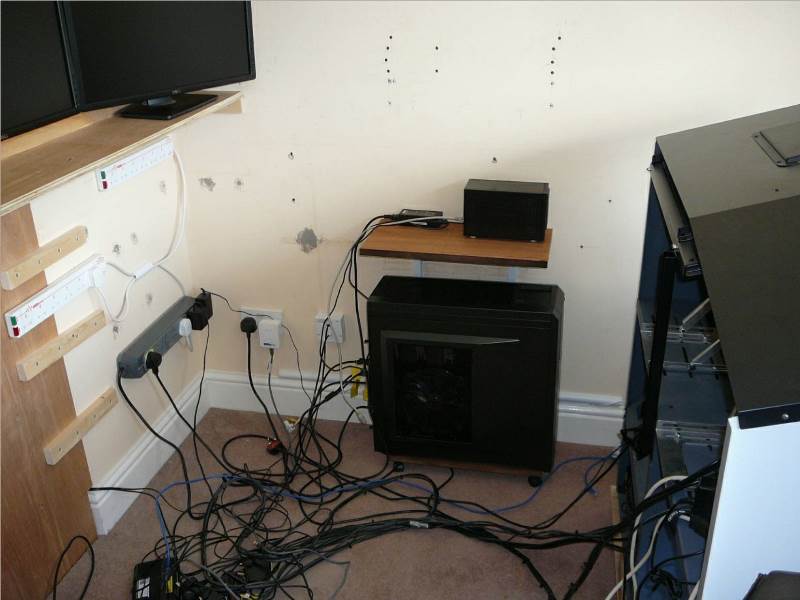
When order was restored it was ready for the Overhead.

JetMax

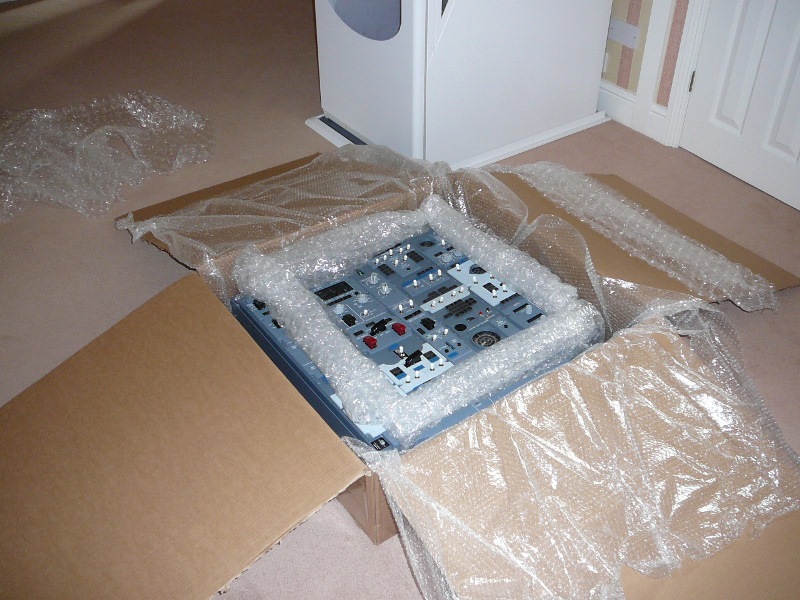
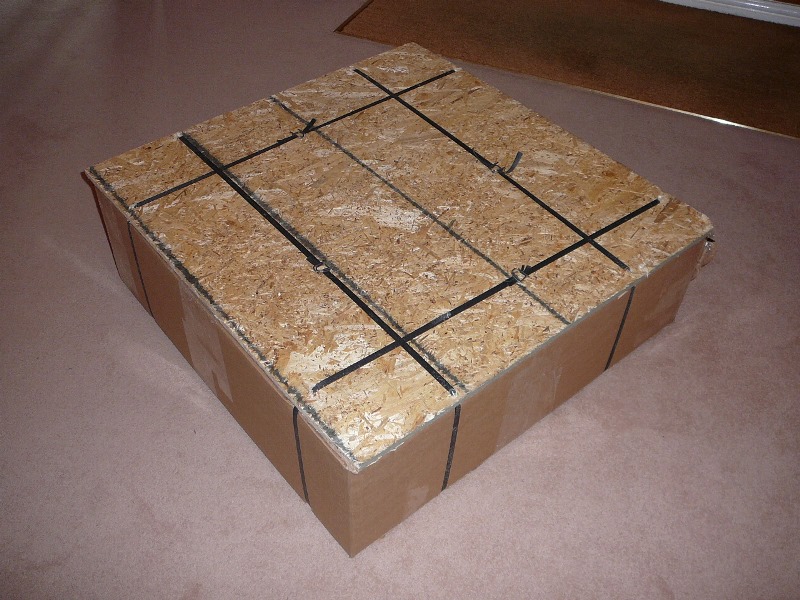
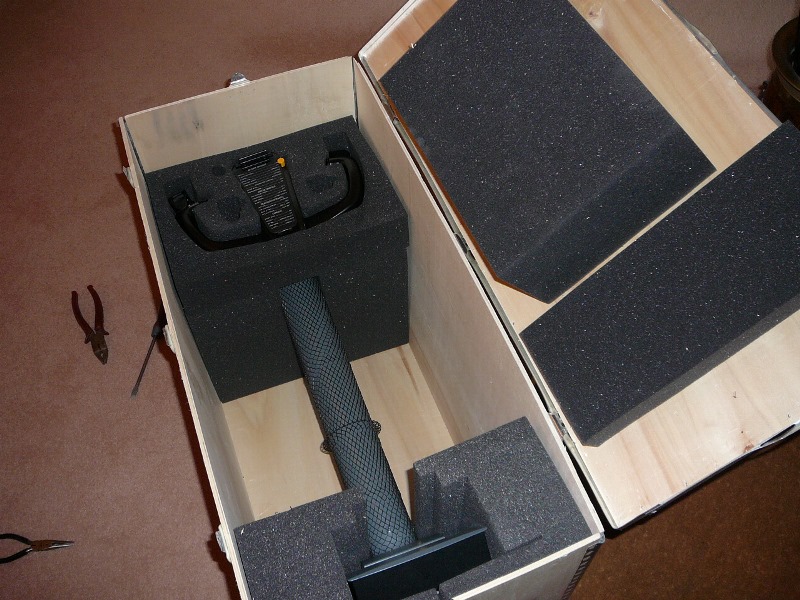
The replacement pack arrived, and was well protected this time

JetMax

JetMax

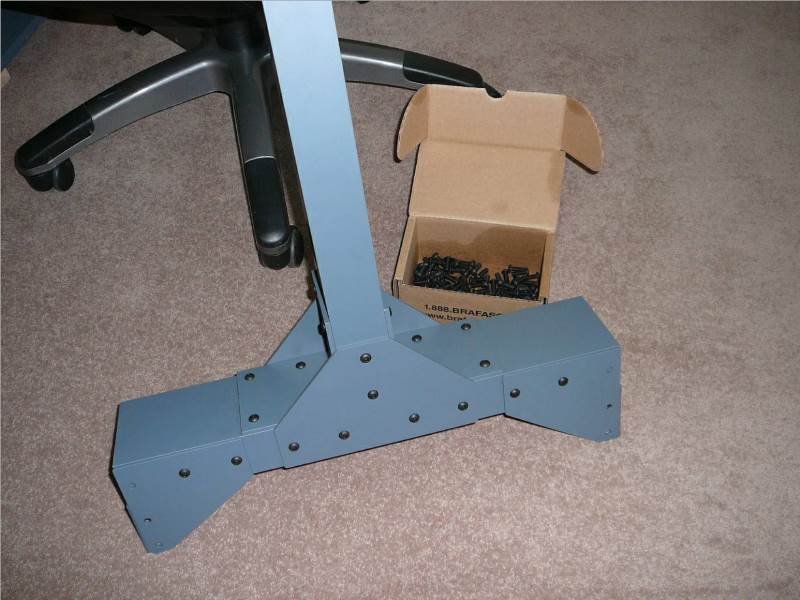
The build started with the support frame, which was put together with umpteen screws.

JetMax

JetMax

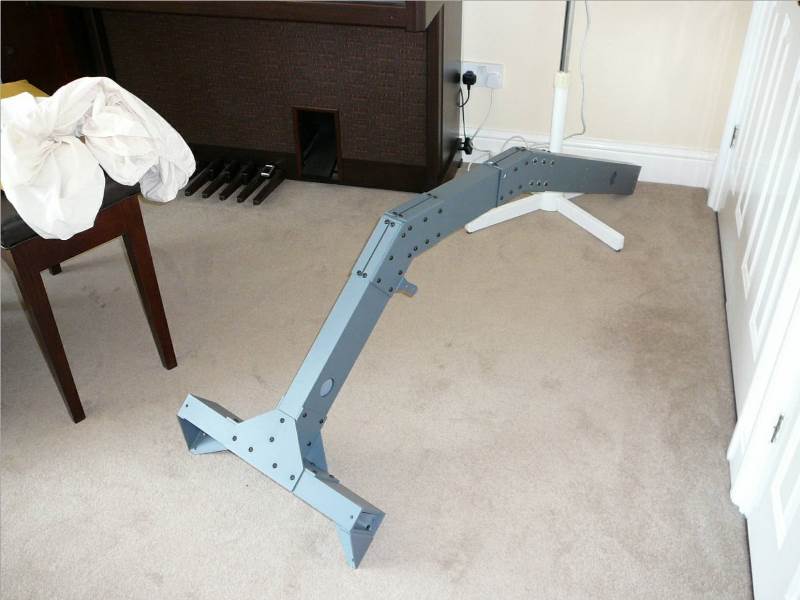
When the support was ready for fixing to the JetMax 737 unit, some drilling was required, as my JM unit was an early model. JM supplied rigid plastic templates, and the job was easier than I had expected.

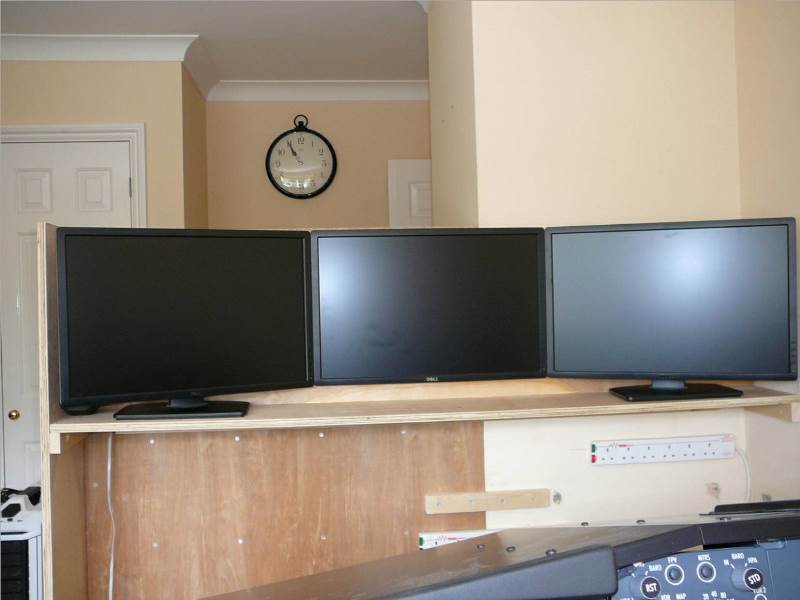
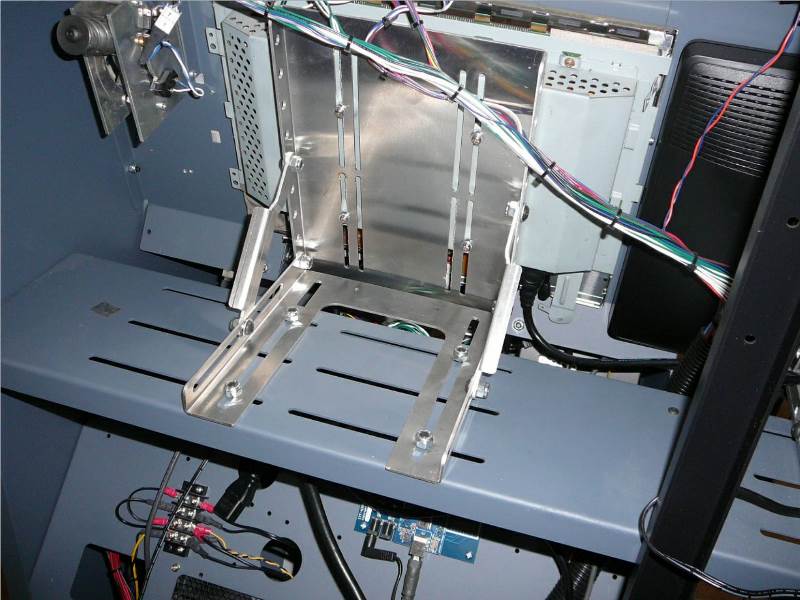
The base plate for the right hand monitor had to be replaced, to allow room for the support frame.

JetMax

And, finally it was fitted.

JetMax

Then the four suspension brackets

JetMax

To get the OH unit up onto the support frame, I needed the help of two strong men - Ted and his friend, Andy.

And, here it is – ready to go.

JetMax

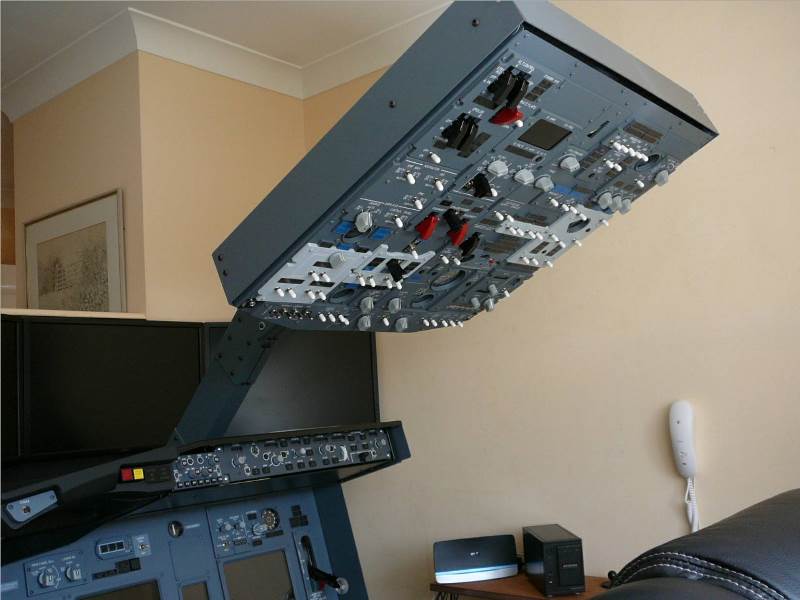
And look who became an even happier simmer.

JetMax

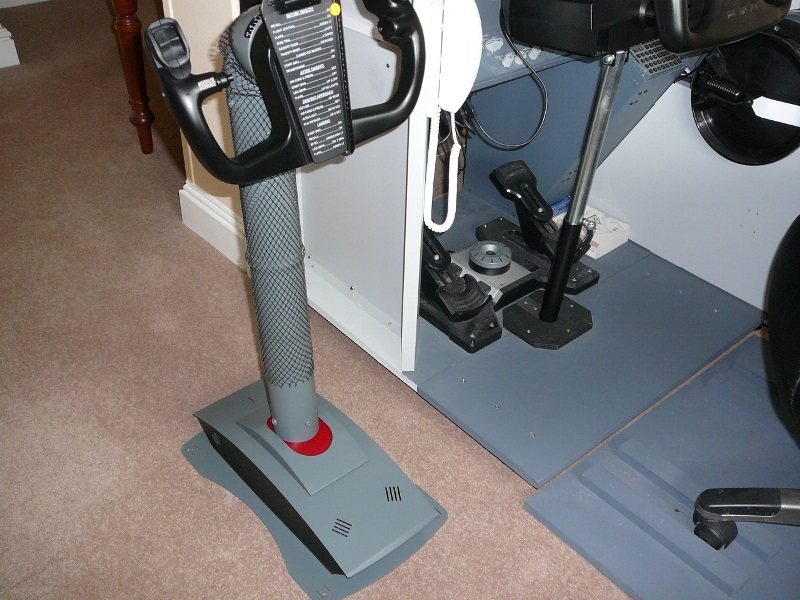
The observant among you will have noticed the deck is not fully authentic at that stage. Whilst searching for a good replica of the 737 yoke and pedals, I was using Saitek’s Pro system, with a Cessna trim wheel.

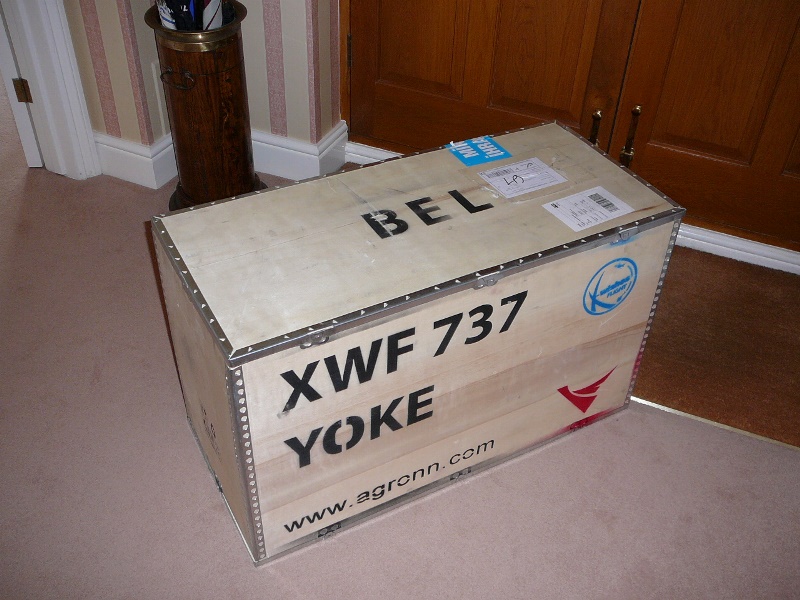
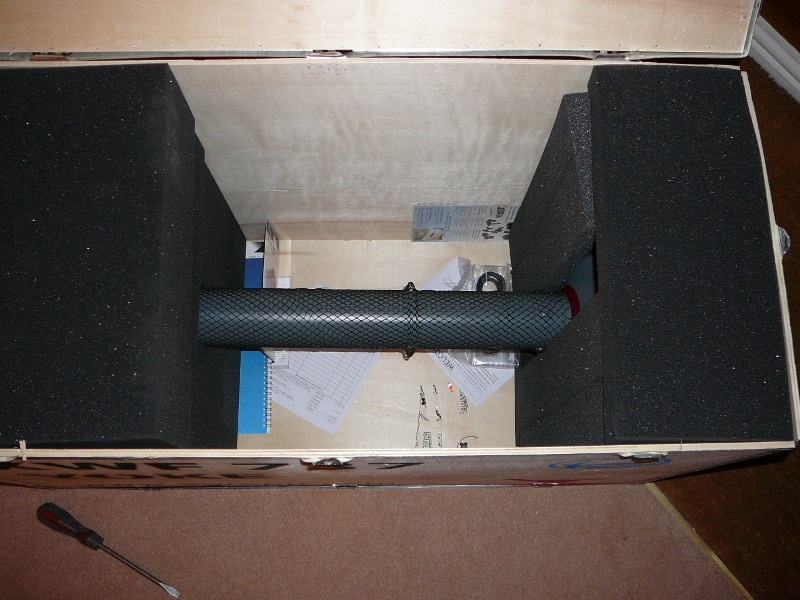
My search ended when I found the AGRONN 737 yoke, built in Turkey. It arrived very well packed from Simware in Belgium.

AGRONN 737 Yoke

AGRONN 737 Yoke

AGRONN 737 Yoke

AGRONN 737 Yoke

At the same time I upgraded my CP Flight EFIS & MCP from the EL version to the PRO.

AGRONN 737 Yoke

So, the raid on my bank account goes on!

Back to Menu Tabs

From Flat Pack To FlightSim - Part #3

Not satisfied with the scenery array on 3 monitors.

JetMax

I decided to buy 2 Dell Ultra Sharp 34” curved monitors, to cover the same width as the existing 3.

JetMax

But that created a new problem. When you use just 2 monitors the centre of your view is right behind the abutting bezels. That makes landing, and taxiing, very difficult. So, would another Dell U3415W be the answer? Three of them span 8 feet. They would fit the available space – its original position!

JetMax

First, unplug everything and move the ancillary hardware to the other side of the room. The main unit is on wheels, so is easily pushed out of the way.

JetMax

A new shelf had to be fitted to accommodate the new monitors.

JetMax

The wiring had to be re-planned, and strapped up to make movement easy, if and when any maintenance becomes necessary.

JetMax

JetMax

The week’s work was worth it, as I was able to position the unit so that the centre monitor is directly in front of the Captain, giving him a perfect view.

JetMax

Once more the happy simmer! JetMax

Back to Menu Tabs